Call US :- +255 678828238
- kitasa Tours is best for Safari
- Enjoy you Tour with Kitasa Tours
- I recomend KITASA for Kili Trek
- Always Kitasa Tours do the best
Call US :- +255 678828238
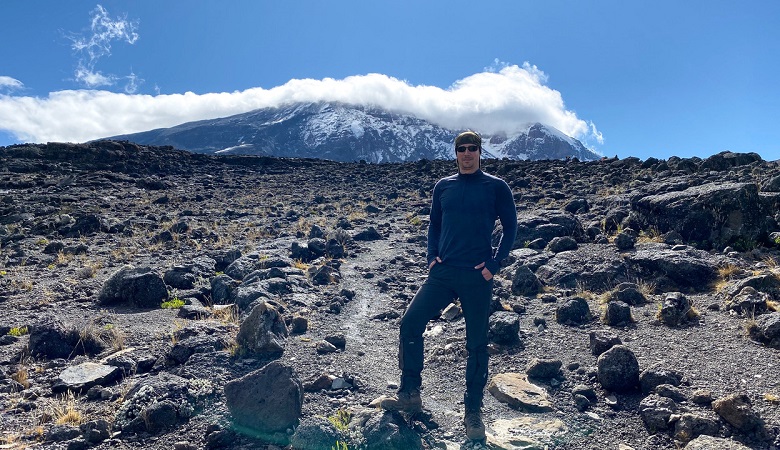
A physically demanding route through a variety of landscapes. The hike is steeper than other routes but the extra day offers a perfect way to acclimatize. This is our most popular route and accommodation is in tents.
>>> Private transport from Kilimanjaro International Airport to your accommodations in Moshi.
>>> Kilimanjaro Park rescue team fees.
>>> Government taxes.
>>> 3 freshly-prepared delicious meals daily on the mountain prepared by professional cooks who are happy to accommodate your dietary needs.
>>>3-4 liters of mineral/treated water per person per day.
>>> Hot drinks on the mountain and hot water for washing.
>>> Private transport to and from the hotel to the Kilimanjaro Park Gate.
>>> National Park entry fees and hut fees.
>>> Portable oxygen tanks, ox meter and emergency first-aid kit.
>>> Porter’s Cook’s and Guide’s Salary.
>>> 2 nights of accommodation at Hotel Moshi.
>>> Friendly and highly qualified mountain guides, assistant guides and professional cooks.
>>> Enough Porters to carry camping gear and additional baggage.
>>> Accommodation in Huts/camping.
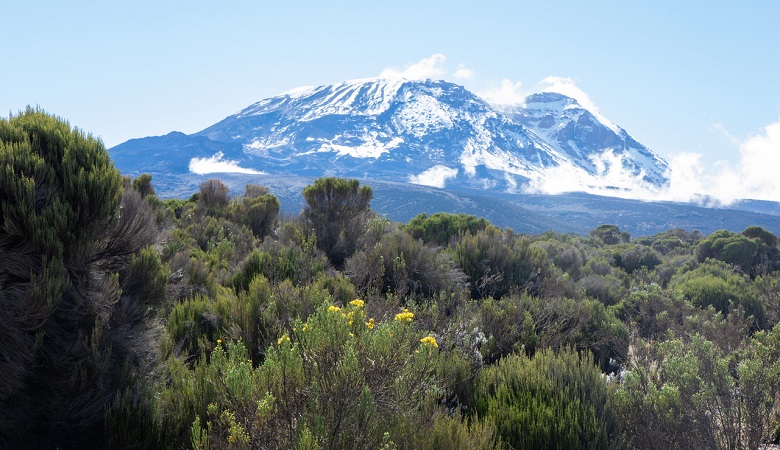
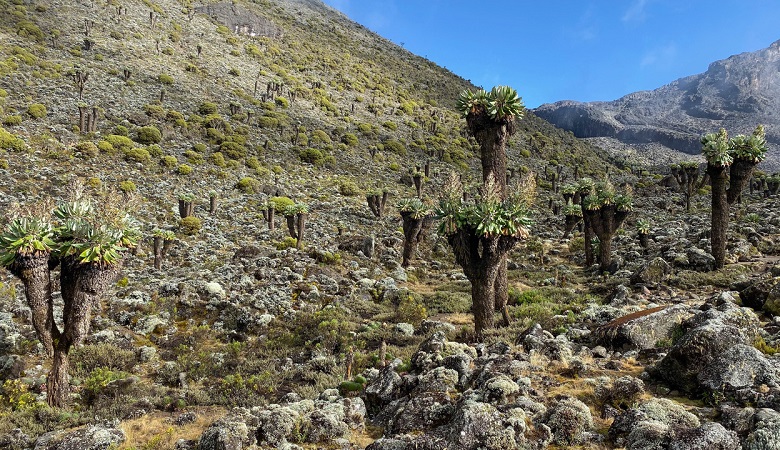
Departing from Moshi a 45-minute drive will take you through the Village of Machame to the Kilimanjaro National Park Gate. We will patiently wait for our permits to be issued while watching the hustle and bustle of operations as many crews prepare for the journey ahead Enjoy the beautiful rainforest scenery and windy trails while your guide tells you about the local flora and fauna and natural wildlife. At these lower elevations, the trail can be muddy and quite slippery. We highly recommend gaiters and trekking poles here.
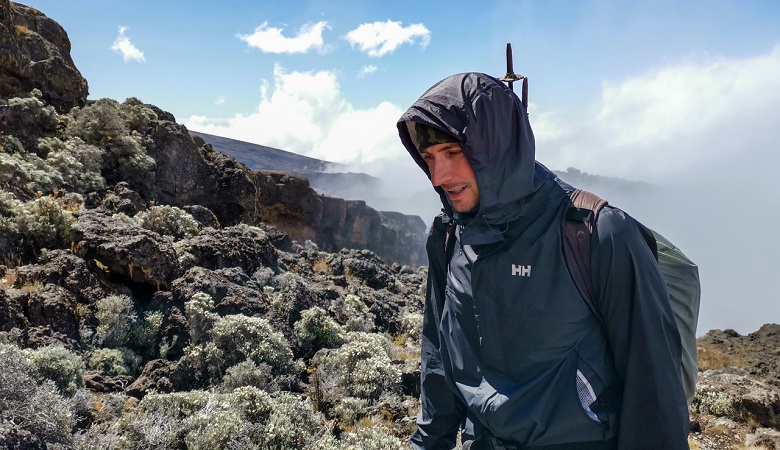
After a nights sleep and a hearty breakfast, we emerge from the rain forest and continue on an ascending path, crossing the valley along a steep rocky ridge. The route now turns west onto a river gorge until we arrive at the Shira campsite. Temperatures begin to drop.
Although you end the day around the same elevation as when you began, this day is very important for acclimatization. From Shira Plateau we continue east up a ridge, passing the junction towards the Kibo peak before we then continue, South East towards the Lava Tower, called the “Shark’s Tooth” (elev. 4650m/15,250ft). Shortly after the tower, we come to a second junction, which leads to the Arrow Glacier. We then continue to descend to overnight at Barranco Camp.
After breakfast, we continue on a steep ridge up to the adventurous Barranco Wall to the Karanga Valley and the junction, which connects, with the Mweka Trail. This is one of the most impressive days to see the power, agility, and strength of your crew zip over this wall with what appears such ease. We continue up toward Barafu Camp, and once reached you have now completed the South Circuit, which offers a variety of breathtaking views of the summit from many different angles. An early dinner and rest as we prepare for summit night. Overnight at Barafu Camp.
Excitement is building as morning comes with an early start between midnight and 2 a.m. This is the most mentally and physically challenging portion of the trek.
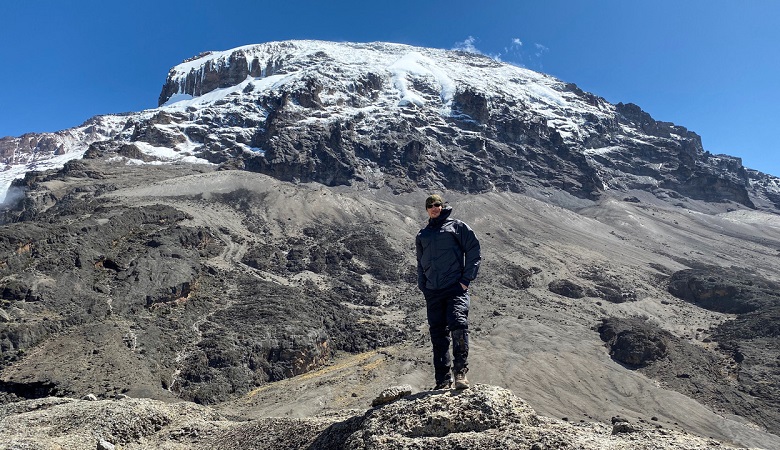
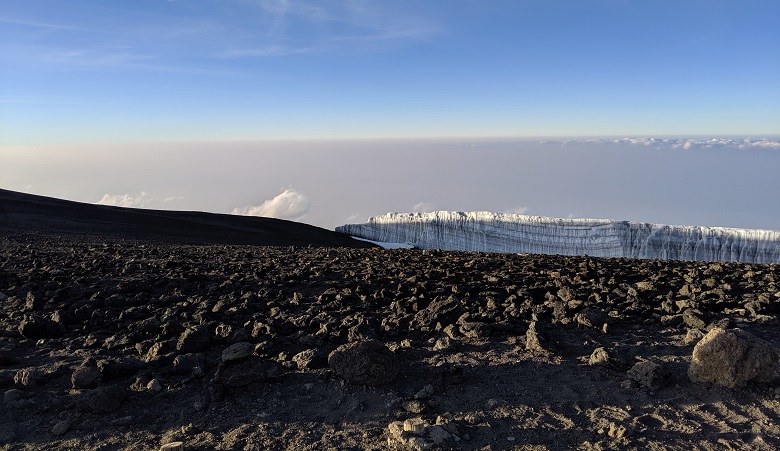
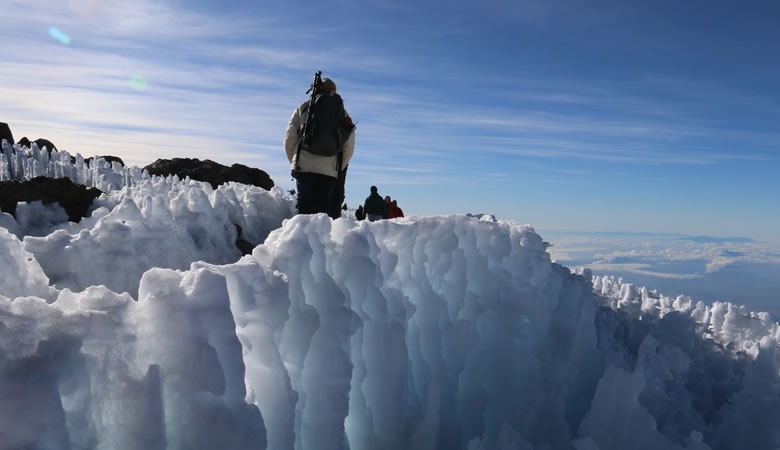
We continue our way to the summit between the Rebmann and Ratzel glaciers trying to stay warm and focused on the amazing sense of accomplishment that lies ahead. With a switchback motion in a northwesterly direction and ascend through heavy scree towards Stella Point on the crater rim. You will be rewarded with the most magnificent sunrise during your short rest here. Faster hikers may view the sunrise from the summit. From here on your remaining 1 hour ascent to Uhuru Peak, you are likely to encounter snow all the way.
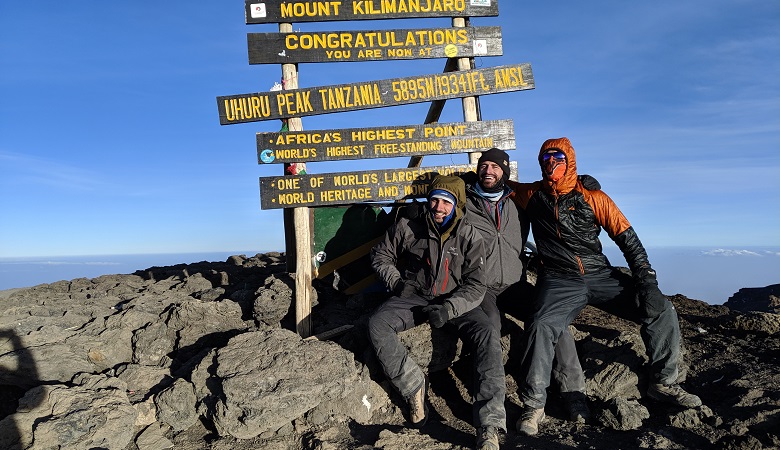
Congratulations, one step at a time you have now reached Uhuru Peak the highest point on Mount Kilimanjaro and the entire continent of Africa!
After photos, celebrations and maybe a few tears of joy we take a few moments to enjoy this incredible accomplishment. We begin our steep descent down to Mweka Camp, stopping at Barafu for lunch and a very brief rest. We strongly recommend gaiters and trekking poles for uncooperative loose gravel and volcano ash terrain. Well-deserved rest awaits you to enjoy your last evening on the mountain. Overnight Mweka Camp.
After breakfast and a heartfelt ceremony of appreciation and team bonding with your crew, it’s time to say goodbye. We continue the descent down to the Mweka Park Gate to receive your summit certificates. As the weather is drastically warmer, the terrain is wet, muddy and steep and we highly recommend Gaiters and trekking poles.
From the gate, a vehicle will meet you at Mweka village to drive you back to your hotel in Moshi (about 30 minutes). Enjoy a long overdue hot shower, dinner and celebrations!!
People can climb the mountain throughout the year, however there are times which are more convenient to climb due to different weather conditions. Bad weather conditions like rain makes it difficult to climb hence low summit success rate.
There are main two seasons for climbing Kilimanjaro. They are dry(June to October) and wet seasons (April to June). The dry season is referred to as the peak season.
During peak season, the weather is usually good with warm conditions making it easy for climbing Kilimanjaro and higher summit success rate. However being peak season is not because of weather but because the time coincides with American and European summer holiday.
Alternative time for climbing is from January to March where the weather is neither cold nor wet. The timing is best suitable for hikers who prefer less crowds of people.
| Month | Low (F) | Average (F) | High (F) | Humidity (%) | Rain Fall (in) |
|---|---|---|---|---|---|
| January | 64 | 78 | 92 | 58 | 1.4 |
| February | 64 | 78 | 92 | 57 | 2.0 |
| March | 66 | 78 | 90 | 63 | 4.7 |
| April | 67 | 76 | 85 | 73 | 13.8 |
| May | 65 | 72 | 79 | 77 | 9.3 |
| June | 62 | 70 | 78 | 69 | 1.0 |
| July | 60 | 69 | 78 | 69 | 1.0 |
| August | 60 | 60 | 80 | 69 | 0.7 |
| September | 60 | 71 | 83 | 61 | 0.6 |
| October | 62 | 75 | 88 | 57 | 1.0 |
| November | 64 | 76 | 86 | 57 | 2.5 |
| December | 64 | 77 | 90 | 60 | 2.1 |
Sometimes called “mountain sickness,” altitude sickness is a group of symptoms that can strike if you walk or climb to a higher elevation, or altitude, too quickly.
The pressure of the air that surrounds you is called barometric pressure. When you go to higher altitudes, this pressure drops and there is less oxygen available. If you live in a place that’s located at a moderately high altitude, you get used to the air pressure. But if you travel to a place at a higher altitude than you’re used to, your body will need time to adjust to the change in pressure. Any time you go above 8,000 feet, you can be at risk for altitude sickness.
Anyone can develop altitude sickness, no matter how fit, young, or healthy they are -- even Olympic athletes can get it. In fact, being physically active at a high elevation makes you more likely to get it. Your chance of getting altitude sickness depends on a few other things: how quickly you move to a higher elevation, how high you go up, the altitude where you sleep, and other factors. Your risk also depends on where you live and the altitude there, your age (young people are more likely to get it), and whether you’ve had altitude sickness before Having certain illnesses like diabetes or lung disease doesn’t automatically make you more likely to develop altitude sickness. But your genes could play a role in your body’s ability to handle higher elevations.
If you get a headache and at least one other symptom associated with altitude sickness within a day or two of changing your elevation, you might have altitude sickness. If your symptoms are more severe, you’ll need medical attention. Your doctor might listen to your chest with a stethoscope or take an X-ray of your chest or an MRI or CT scan of your brain to look for fluid. Knowing the symptoms of altitude sickness will help you seek treatment early, while the condition is still mild. The most important treatment for any level of altitude sickness is to go down to a lower elevation as soon as possible while remaining safe. If you have severe altitude sickness, you’ll need to be taken down to a lower elevation right away -- and it must be lower than 4,000 feet. You’ll have to see a doctor as soon as possible and you may need to go to the hospital. If you have HACE, you might need a steroid called dexamethasone. If you have HAPE, you will need supplemental oxygen and may need medications, as well as moving to a lower altitude.
The best way you can lower your chance of getting altitude sickness is through acclimatization. That means you let your body slowly get used to the changes in air pressure as you travel to higher elevations. You’ll want to climb to higher altitudes gradually. Going slowly helps your lungs get more air through deeper breaths and allows more of your red blood cells to carry oxygen to different parts of your body.
Some of the basic guidelines for acclimatization are:
Kilimanjaro climbing is one of the adventurous tour activity that one shouldn’t miss. However to make it more entertaining, it’s required to pack the right and necessary equipment.The following list will be of a great help:-