Call US :- +255 678828238
- kitasa Tours is best for Safari
- Enjoy you Tour with Kitasa Tours
- I recomend KITASA for Kili Trek
- Always Kitasa Tours do the best
Call US :- +255 678828238
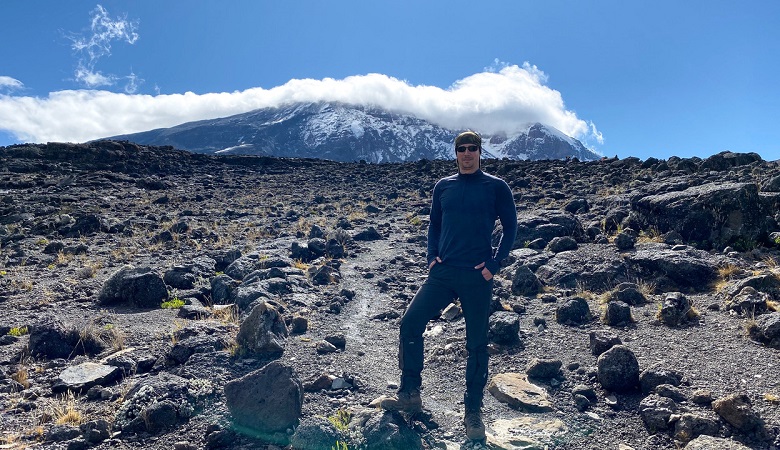
The Northern Circuit route is certainly one of the best routes on Kilimanjaro. While you trek, you will see nearly 360 degrees of beautiful scenery as you traverse the mountain at 13,000 feet. As the longest route on Kilimanjaro, the Northern Circuit also has the longest acclimatization time, giving you the highest chance of reaching the summit successfully. Thus, the Northern Circuit route is highly recommended.
>>> Private transport from Kilimanjaro International Airport to your accommodations in Moshi.
>>> Kilimanjaro Park rescue team fees.
>>> Government taxes.
>>> 3 freshly-prepared delicious meals daily on the mountain prepared by professional cooks who are happy to accommodate your dietary needs.
>>>3-4 liters of mineral/treated water per person per day.
>>> Hot drinks on the mountain and hot water for washing.
>>> Private transport to and from the hotel to the Kilimanjaro Park Gate.
>>> National Park entry fees and hut fees.
>>> Portable oxygen tanks, ox meter and emergency first-aid kit.
>>> Porter’s Cook’s and Guide’s Salary.
>>> 2 nights of accommodation at Hotel Moshi.
>>> Friendly and highly qualified mountain guides, assistant guides and professional cooks.
>>> Enough Porters to carry camping gear and additional baggage.
>>> Accommodation in Huts/camping.
We will send a driver to the airport to pick you up and take you to the hotel in Moshi. Orientation will take place at the hotel. Our guides will emphasise all the important details regarding your trek and an inspection on your hiking gear will occur.
The Northern Circuit Route begins at Londorossi Gate (2,100 meters) in the West, the same start point as the Lemosho Route. The drive to Londorossi Gate takes approximately two hours from Moshi and considerably longer from Arusha. Registration with the Kilimanjaro National Park authorities occurs at the gate and then you will be driven further up the mountain to the trailhead starting point.
You may get lucky and spot large wildlife like elephant and buffalo that sometimes emerge from the rainforest onto the path as you trek towards your first camp. Dinner will be served when you reach Mti Mkubwa Camp.
On day two you will spend the first hour trekking through the last section of rainforest path before entering the low alpine moorland zone which follows up onto the Shira Plateau. The trek is relatively short and gradual, ending at Shira Camp 1 (3,610 meters).
On day three the trek crosses the Shira Plateau from Shira Camp 1 to Shira Camp 2. At Shira Camp 2 it is worth trekking a little higher up the plateau to enjoy the stunning view across the valley below and Western Breach of Kilimanjaro above.
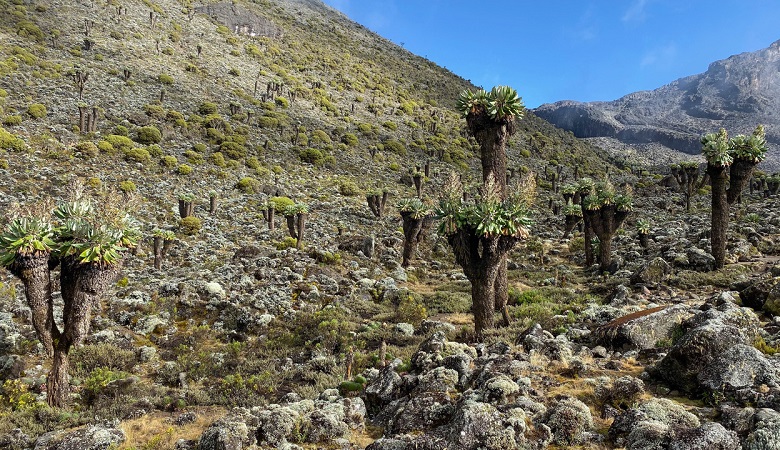
Day four is a long trek heading east which passes through the ‘Garden of the Senecios’ and then enters the high alpine desert zone. The morning is spent trekking up to Lava Tower and the iconic Shark’s Tooth rock formation at 4,600 meters, where you will have lunch. After lunch you will join the northern circuit heading down to Moir Camp at 4,200 meters.
This is an important day in your trek as you will get to experience high altitude and then sleep low, which is good for the acclimatisation process.
Day five involves a moderately steep climb out of Moir Valley. Trekkers can take a small detour here to climb the summit of Little Lent Hill at 4,375 meters before returning to the Northern Circuit trail. From here the route follows a series of inclines and declines, skirting around the northern slopes of Kibo to Buffalo Camp (4,020 meters).The trek gives great vistas out across the plains that lie north of Kilimanjaro and stretch out to the Kenyan / Tanzanian border. You will arrive at Buffalo Camp just after midday, where you will have lunch and have time to rest after a long day hiking.
Day six starts with a climb up the Buffalo ridge and down into Porfu Camp where lunch is usually served. The route then continues east around the northern slopes to the Rongai Third Cave at 3,800 meters. The trek is shorter than the day before and by now you should be feeling well acclimatised to the altitude. You will arrive at the Third Cave just around mid-afternoon.
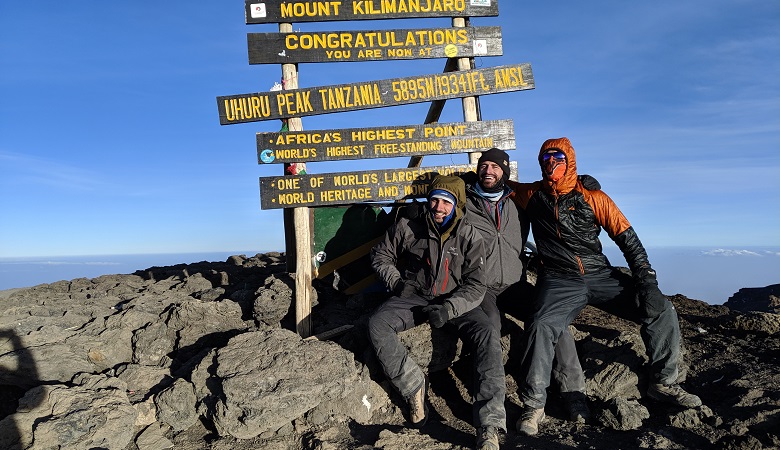
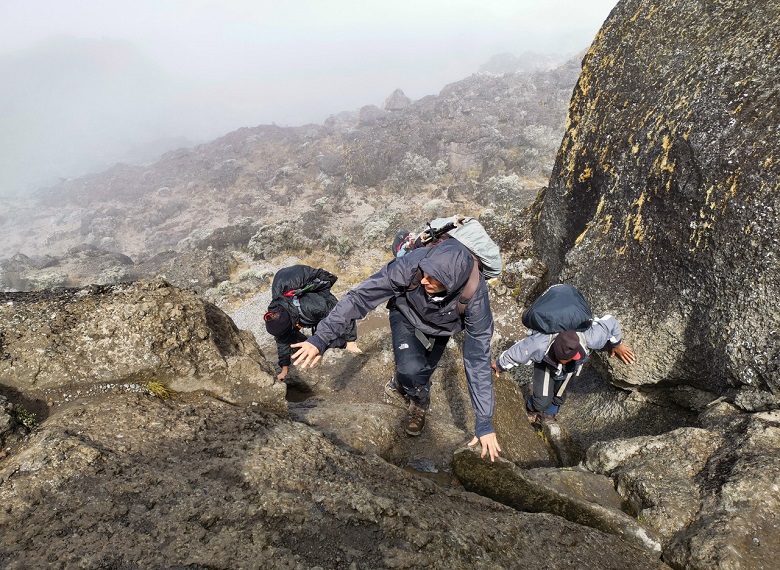
You will be awoken around 11:30 with hot tea and biscuits and will then begin the steep incline up the slopes of Kibo under the cover of darkness. Your first check-point is Hans Meyer Cave where you will take a short break. The climb steepens as you approach Gilman’s Point (5,681 meters), which will be around 5-6 hours after departing School Hut. The trail to Gilman’s Point is very steep and the ascent will be slow and steady. From Gilman's, it is a traverse along the crater rim to Uhuru Peak. We stay at the summit for a short time, to take photos and enjoy the views, before retracing our steps to Stella Point, and then descend down a long, rocky path to Mweka Camp.
The final day is a short hike through the dense mountain rainforest from Mweka Camp (3,950 meters) to Mweka Gate (1,640 meters).
This will be the last day for the journey which will be accompanied by the by a traditional farewell ceremony, you will gently descend through the rainforest to Mweka Gate, where you will be met and transferred to Moshi where you will can celebrate your achievement
People can climb the mountain throughout the year, however there are times which are more convenient to climb due to different weather conditions. Bad weather conditions like rain makes it difficult to climb hence low summit success rate.
There are main two seasons for climbing Kilimanjaro. They are dry(June to October) and wet seasons (April to June). The dry season is referred to as the peak season.
During peak season, the weather is usually good with warm conditions making it easy for climbing Kilimanjaro and higher summit success rate. However being peak season is not because of weather but because the time coincides with American and European summer holiday.
Alternative time for climbing is from January to March where the weather is neither cold nor wet. The timing is best suitable for hikers who prefer less crowds of people.
| Month | Low (F) | Average (F) | High (F) | Humidity (%) | Rain Fall (in) |
|---|---|---|---|---|---|
| January | 64 | 78 | 92 | 58 | 1.4 |
| February | 64 | 78 | 92 | 57 | 2.0 |
| March | 66 | 78 | 90 | 63 | 4.7 |
| April | 67 | 76 | 85 | 73 | 13.8 |
| May | 65 | 72 | 79 | 77 | 9.3 |
| June | 62 | 70 | 78 | 69 | 1.0 |
| July | 60 | 69 | 78 | 69 | 1.0 |
| August | 60 | 60 | 80 | 69 | 0.7 |
| September | 60 | 71 | 83 | 61 | 0.6 |
| October | 62 | 75 | 88 | 57 | 1.0 |
| November | 64 | 76 | 86 | 57 | 2.5 |
| December | 64 | 77 | 90 | 60 | 2.1 |
Sometimes called “mountain sickness,” altitude sickness is a group of symptoms that can strike if you walk or climb to a higher elevation, or altitude, too quickly.
The pressure of the air that surrounds you is called barometric pressure. When you go to higher altitudes, this pressure drops and there is less oxygen available. If you live in a place that’s located at a moderately high altitude, you get used to the air pressure. But if you travel to a place at a higher altitude than you’re used to, your body will need time to adjust to the change in pressure. Any time you go above 8,000 feet, you can be at risk for altitude sickness.
Anyone can develop altitude sickness, no matter how fit, young, or healthy they are -- even Olympic athletes can get it. In fact, being physically active at a high elevation makes you more likely to get it. Your chance of getting altitude sickness depends on a few other things: how quickly you move to a higher elevation, how high you go up, the altitude where you sleep, and other factors. Your risk also depends on where you live and the altitude there, your age (young people are more likely to get it), and whether you’ve had altitude sickness before Having certain illnesses like diabetes or lung disease doesn’t automatically make you more likely to develop altitude sickness. But your genes could play a role in your body’s ability to handle higher elevations.
If you get a headache and at least one other symptom associated with altitude sickness within a day or two of changing your elevation, you might have altitude sickness. If your symptoms are more severe, you’ll need medical attention. Your doctor might listen to your chest with a stethoscope or take an X-ray of your chest or an MRI or CT scan of your brain to look for fluid. Knowing the symptoms of altitude sickness will help you seek treatment early, while the condition is still mild. The most important treatment for any level of altitude sickness is to go down to a lower elevation as soon as possible while remaining safe. If you have severe altitude sickness, you’ll need to be taken down to a lower elevation right away -- and it must be lower than 4,000 feet. You’ll have to see a doctor as soon as possible and you may need to go to the hospital. If you have HACE, you might need a steroid called dexamethasone. If you have HAPE, you will need supplemental oxygen and may need medications, as well as moving to a lower altitude.
The best way you can lower your chance of getting altitude sickness is through acclimatization. That means you let your body slowly get used to the changes in air pressure as you travel to higher elevations. You’ll want to climb to higher altitudes gradually. Going slowly helps your lungs get more air through deeper breaths and allows more of your red blood cells to carry oxygen to different parts of your body.
Some of the basic guidelines for acclimatization are:
Kilimanjaro climbing is one of the adventurous tour activity that one shouldn’t miss. However to make it more entertaining, it’s required to pack the right and necessary equipment.The following list will be of a great help:-